Tracking Meal Preps. Adding Custom Recipes.
- Jalen Primus

- Jun 8, 2025
- 2 min read
Updated: Apr 22

Have you ever decided to meal prep but didn't know how to track it? If you are used to logging one meal at a time, it may be slightly confusing, but I promise it's not that bad. If you are cooking for one, remember to use a food scale and check the nutrition label to adjust serving sizes accordingly.
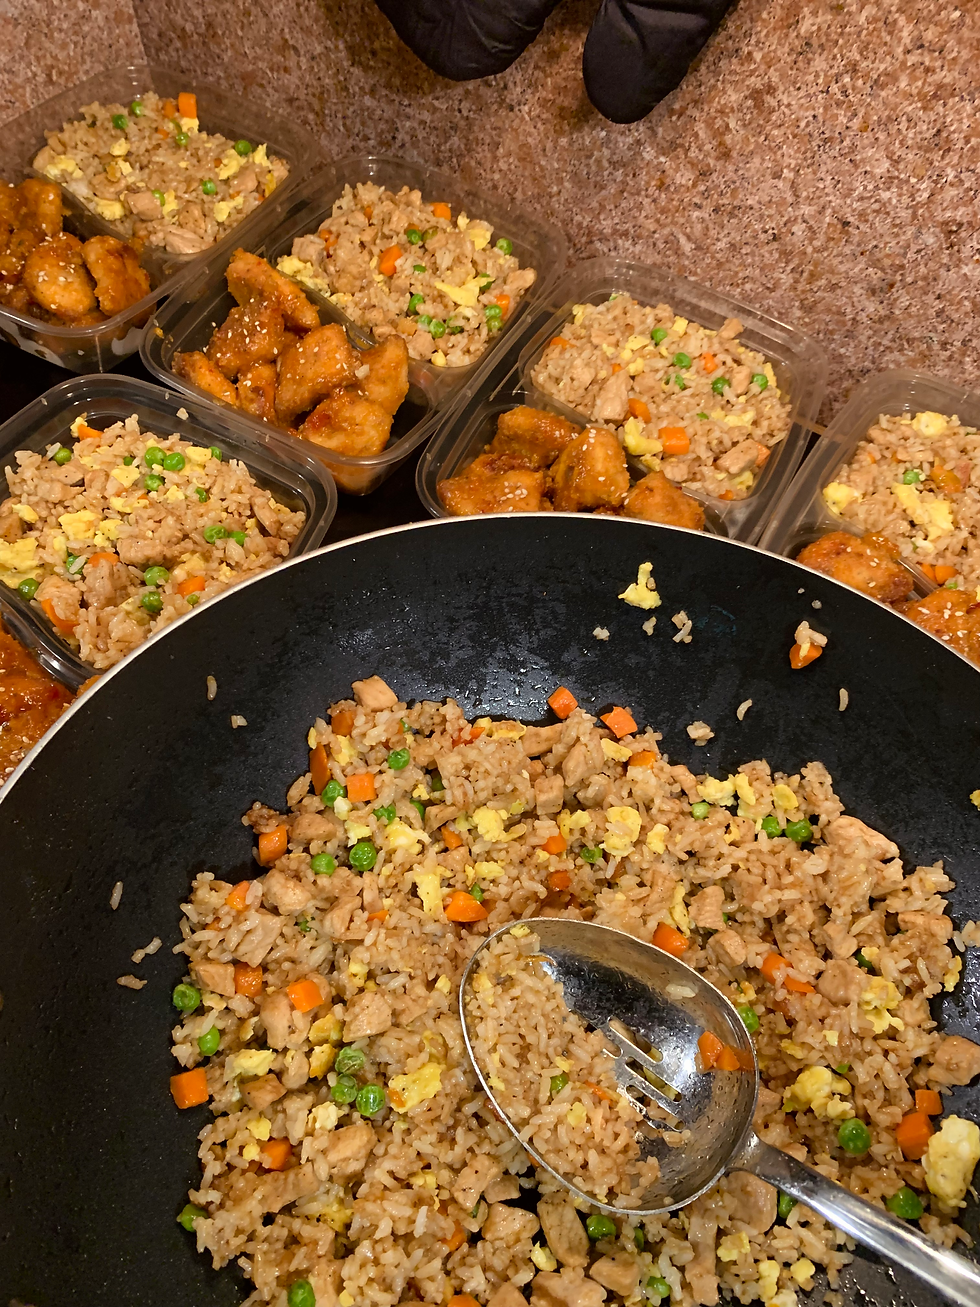
For this example, I will be tracking a pot of spaghetti!

First, navigate to the home dashboard.

Usually, you would hit the plus button to track a meal. To access this feature, click the three dots in the bottom right corner.

Please scroll down to my recipes.

Click Add recipes.

Begin building your recipe! Add a photo, title, ingredients, and serving size.

Take a photo or add one from your camera roll.

Once you've added a photo and title, you can begin creating the recipe!
You can search for ingredients or use the barcode scanner to scan labels. If you scan a label and it doesn't register, you can manually add the ingredient to the list. Adjust the serving size! For example, if you used 2 lbs of beef or eight servings, once you search it, you have to adjust the serving size from 1 to 8. Once you find the item, click the plus button on the right to add it. You don't have to do any complicated math! The app will handle that. Just pay attention to the label.


Once you have all your ingredients, you can adjust the number of servings for your meal. For this meal, I made eight servings.

You can also add tags.

Now you can add directions.


Click the blue serving size button to view serving sizes.


You can log your new recipe or move it to another day with one click!

You can add your custom recipes to your smart meal planner!
If you have any questions, please visit my blog and FAQ page.
I will be posting new content frequently, so I would appreciate it if you could visit my site daily. New fitness programs are coming. Join a program today!


Comments